Welcome to Moda Fabrics!
Trees and Wreaths Quilt
Trees and Wreaths Quilt
Hi Bakers! I am Lisa Jo Girodat of Neverlandstitches and I am back on here Moda Bake Shop to share another new quilt pattern.
I hope that everyone had as much fun during the Summer QAL, At the Seashore as the Bakeshop Chefs did. It's sad that it is over but in case you are done and looking for that next project, I think I have a fun quick one for you. The individual blocks would also make a darling table runner or mini to hang on a wall.
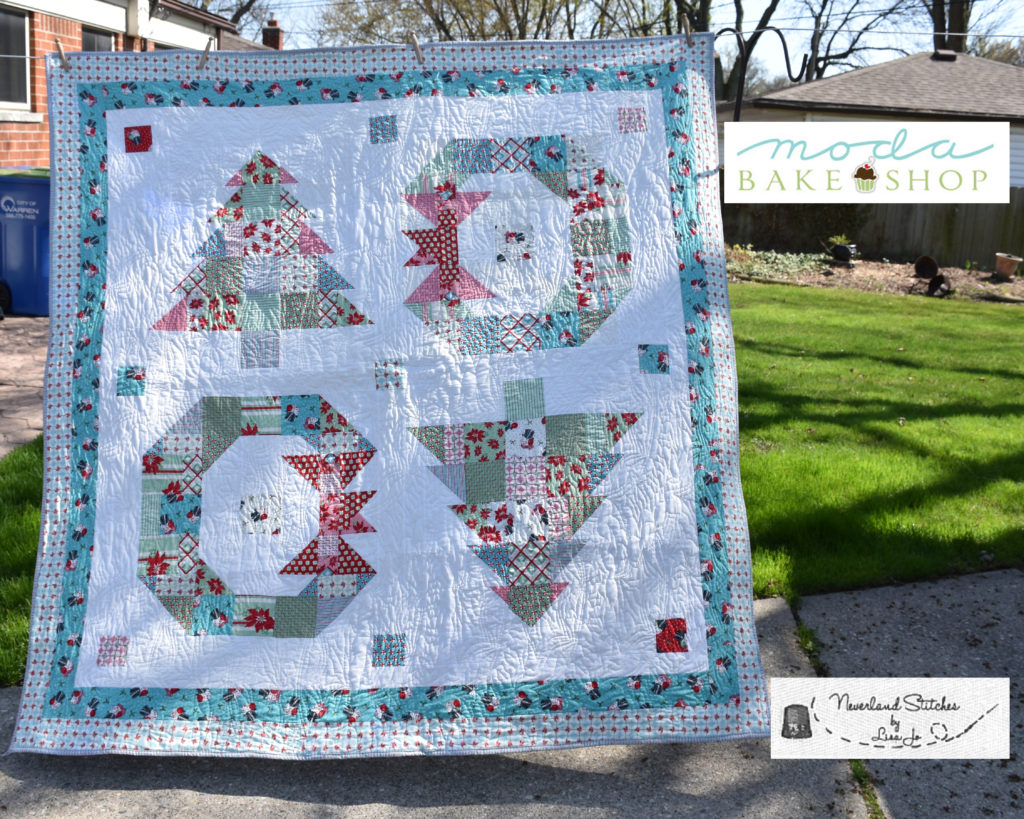
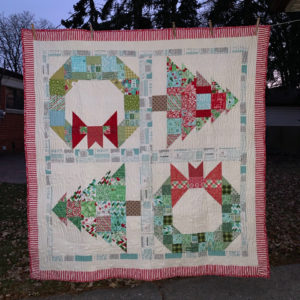
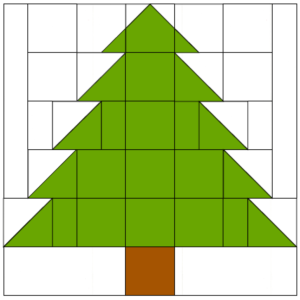
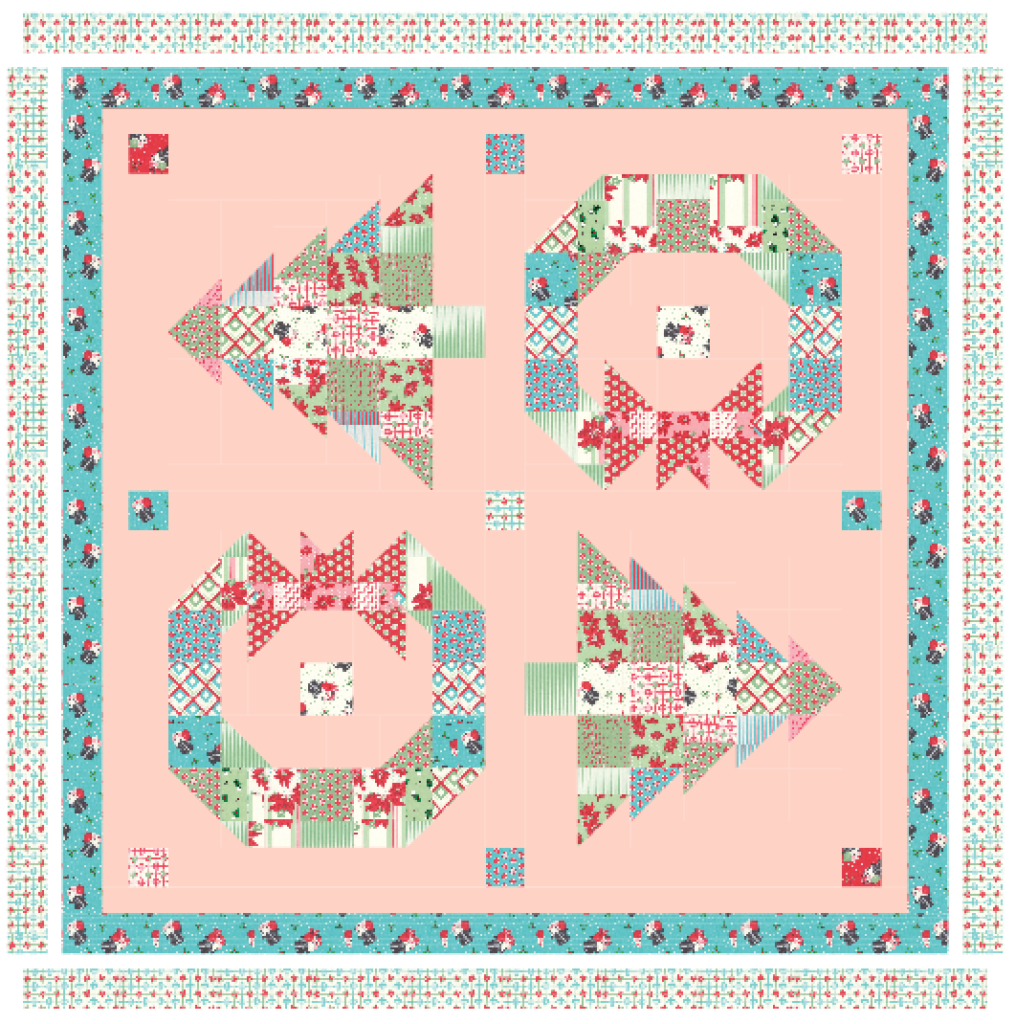
Last November, I designed The Trees and Wreaths quilt. The quilt comprises of four 24 inch blocks. Two of the blocks are the wreaths and two are trees.
I originally made it using a bunch as various Kate Spain and SweetWater Moda Christmas lines I had in my stash. I donated the original quilt to be used in a raffle for the company I was working at for an annual fund raiser for food baskets for a local charity. The idea of the quilt raffle was as huge success as we were able to double the amount of money we normally raise as every one wanted a chance to win the quilt.
Here's the quilt made using Urban Chiks' Sweet Christmas:
I am rating this quilt as Moderate only because the covered corners for the top of the two Christmas trees and the Split Quarter Square Triangle.
This quilt/project finishes at 73 inches square.
1 – Layer Cake – 31150LC – Sweet Christmas by Urban Chiks
3 yards of Moda Bella 9900-200 for background, sashing, and 1st boarder
1 yard 31152-15 for the2nd boarder
1 yard 31157-21 for the 3rd boarder
4 1/2 yards backing fabric {I used 2931153-21from Sweet Christmas by Urban Chiks}
1 yards binding fabric {I used 31155-22 from the Sweet Christmas by Urban Chiks}
Your favorite neutral piecing thread
A rotatory cutter, mat and ruler
Your favorite 2 1/2 HST rulers
Your favorite 4 1/2 HST rulers
Before you begin:
Read through the entire pattern before you begin so that you may plan out which fabrics you want to use in the various sections.
- All seams are a true quarter inch
- Fabrics were spray starched before cutting
- Seams were all pressed to the darker fabrics
- Note: Personally, I cut and sew one block at a time to keep order in my messy sewing room and for a sense of accomplishment.
Acronyms:
- HST = half square triangles
- CC = Covered Corners
- SQST - Split Quarter Square Triangle
The blocks should be trimmed to 24 1/2 inches so that they finish at 24 inches.
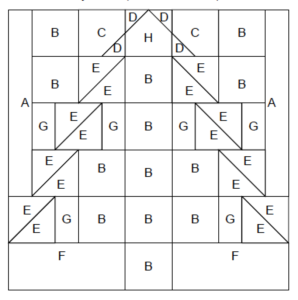
Making a Tree Block (make 2)
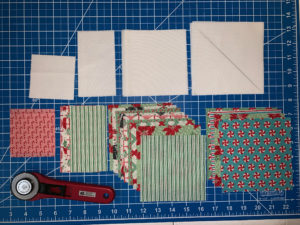
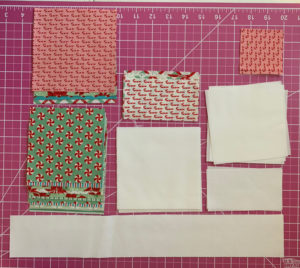
To assemble each Tree block cut:
Background fabric cut:
(2) - 2 1/2 x 16 ½ inch rectangles (A)
(6) -4 1/2 inch squares (B & C)
(2) – 2 ½ inch squares for CC (D)
(4) – 5 inch square for HST (E)
(2) - 4 1/4 x 10 ½ inch rectangles (F)
(2) – 2 ½ x 4/12 inch rectangles (G)
Various Green, Teal, & Red Prints
(10) – 4 ½ inch squares (B)
(4) – 5 inch square for HST(E)
(2) – 2 ½ inch squares for CC (D)
(4) – 2 ½ x 4/12 inch rectangles (G)
Block Assembly
Draw a diagonal line on each of background and print 2 ½ inch squares.
Covered corners for top of the tree:
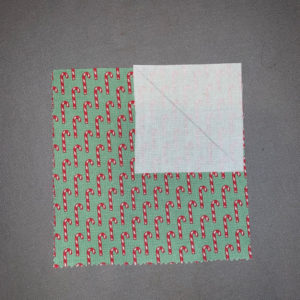
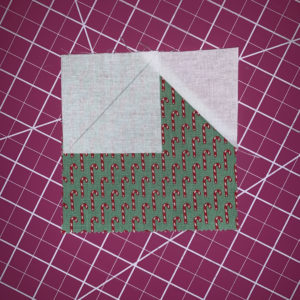
With right sides together, take (1) 4 ½ inch square of a green print and place a 2 ½ inch square of background fabric in the upper right hand corer so that the drawn line goes from top to right side as shown.
Sew along the drawn line on the back ground fabric.
Trim ¼ inch above the seam and press open
Place the second 2 ½ inch back ground fabric square on the left corner of the top of the tree as shown.
Sew along the drawn line on the back ground fabric.
Trim ¼ inch above the seam and press open.
The top of the tree should look like this:
Background fabric Covered Corner for each side of the top of the tree:
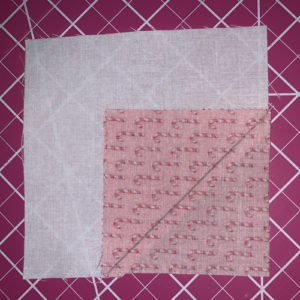
With right sides together place 2 ½ inch print fabric square over the bottom of the 4 ½ inch background fabric.
Sew along the drawn line on the back ground fabric.
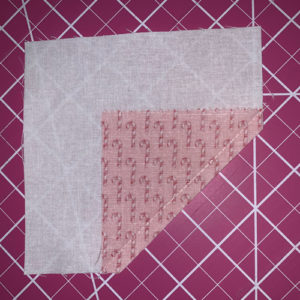
Trim ¼ inch above the seam and press open
Repeat so that you have 2 Background fabric Covered Corner units.
Half Square Triangle (HST) – You will need (5) – 4 ½ HST’s
Draw a diagonal line on the (4) 5 inch background fabric squares.
Place a 5 inch square of background fabric on top of a 5 inch square of printed fabric.
Sew ¼ on each side of the drawn line.
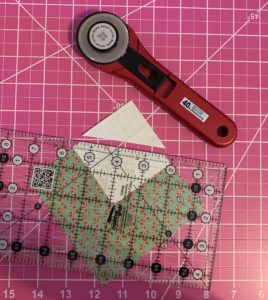
Cut the square in half on the diagonal drawn line.
Press the two HSTs open.
Trim to 4 ½ inches.
Repeat with the other 3 sets of 5 inch background squares and printed fabrics so that you have 8 HSTs.
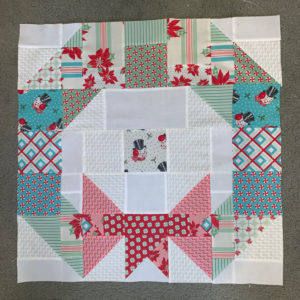
Finish assembling the block as shown in the photo below:
Repeat the sets for the second tree.
Trim you blocks to 24 1/2 inches.
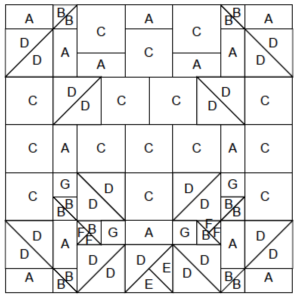
Making a Wreath Block (make 2)
To assemble each Wreath block cut:
Background fabric cut:
(6) - 2 1/2 x 4 ½ inch rectangles (A)
(3) -3 inch squares for HST(B)
(6) – 4 ½ inch squares (C)
(4) – 5 inch square for HST (D)
(1) – 5 1/4 inch square SQST (E)
(2) – 2 ½ inch squares (G)
Various Green &Teal, Prints for the Wreath
(7) - 2 1/2 x 4 ½ inch rectangles (A)
(3) -3 inch squares for HST(B)
(9) – 4 ½ inch squares (C)
(4) – 5 inch square for HST (D)
(1) – 3 1/4 inch square SQST (F)
Various Red Prints for the Wreath’s Big Bow
(1) - 2 1/2 x 4 ½ inch rectangles (A)
(1) - 3 inch squares for SQST (B)
(3) – 5 inch square for (4) HST and (1) SQST (D)
(1) – 5 1/4 inch square SQST for bottom of bow(E)
(1) – 3 1/4 inch square SQST (F)
(2) – 2 ½ inch squares (G)
Block Assembly
Make (6) HST using the 5 inch squares of background fabric and Various Green and Teal prints in the method explained in the Tree Block instructions. Trim to 4 ½ inches.
Make (6) HST using the 3 inch squares of background fabric and Various Green and Teal prints in the method explained in the Tree Block instructions. Trim to 2 ½ inches.
Make (4) HST using the 5 inch squares of background fabric and Various Red prints in the method explained in the Tree Block instructions. Trim to 4 ½ inches.
Split Quarter Square Triangle (SQST)
First make 2 HST {Follow the direction above in the Tree instructions} using (1) 3 ¼ inch square of Green or Teal print and (1) 3 ¼ inch square of red print. (Save the extra 3 inch Green & Red HST for the second Wreath)
Take the 3 inch square of Red print and draw a diagonal line on the wrong side of the fabric.
Place the 3 inch square of Red print on top of the Green & Red HST right sides together so that your drawn line dissects the the line in the HST.
Sew ¼ inch on each side of the drawn line.
Cut the square in half on the diagonal drawn line.
Press the two SQSTs open.
Trim to 2 ½ inches.
SQST For the bottom of the Wreath’s Bow {Follow the directions above}
First make 2 HST using (1) 5 ¼ inch square of background fabric and (1) 5 ¼ inch square of red print. (put aside the extra HST)
Take the 5 inch square of Red print and draw a diagonal line on the wrong side of the fabric.
Place the 5 inch square of Red print on top of the Background & Red HST right sides together so that your drawn line dissects the the line in the HST.
Sew ¼ inch on each side of the drawn line.
Cut the square in half on the diagonal drawn line.
Press the two SQSTs open.
Trim to 4 ½ inches. (Save the extra SQST for the second wreath block)
Finish assembling the block as shown in the photo below:
Notice that I decided to place a cute little snowman in the center of my wreath. Isn't he just darling?!?!
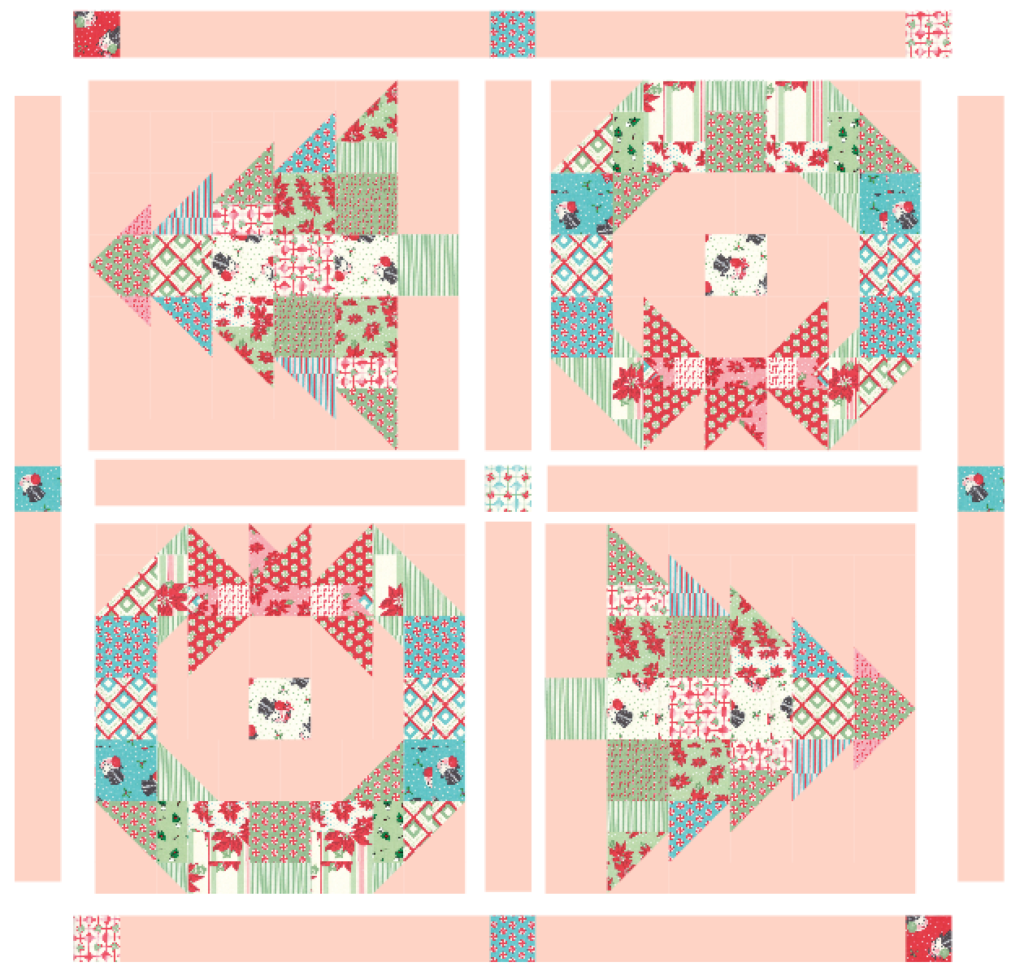
Quilt Sashing: & Cornerstones:
Cut (12) – 3 1/2 x 24 ½ inch strips of background fabric
Cut (9) – 3 ½ inch squares of various prints
Assemble the sashing and blocks as show in the image below (I colored the background cream so that it shows up in the illustration):
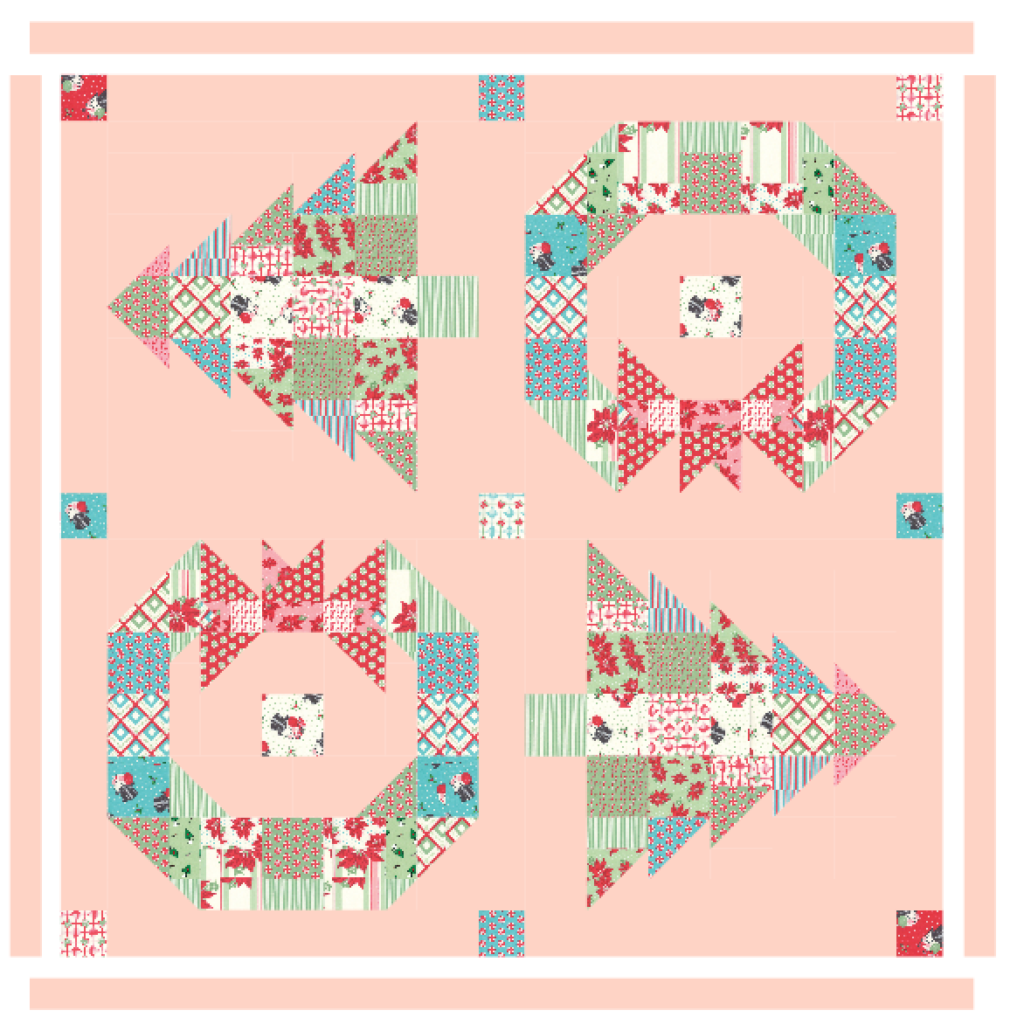
First Border:
Cut (4) 2 ½ inch WOF of the background and piece together (2) – 2 ½ x 57 ½ inch strips and sew on each side of the assembled top. Piece together (2) 2 ½ x 61 ½ inch strips and sew on the top and bottom of the assemble quilt top.
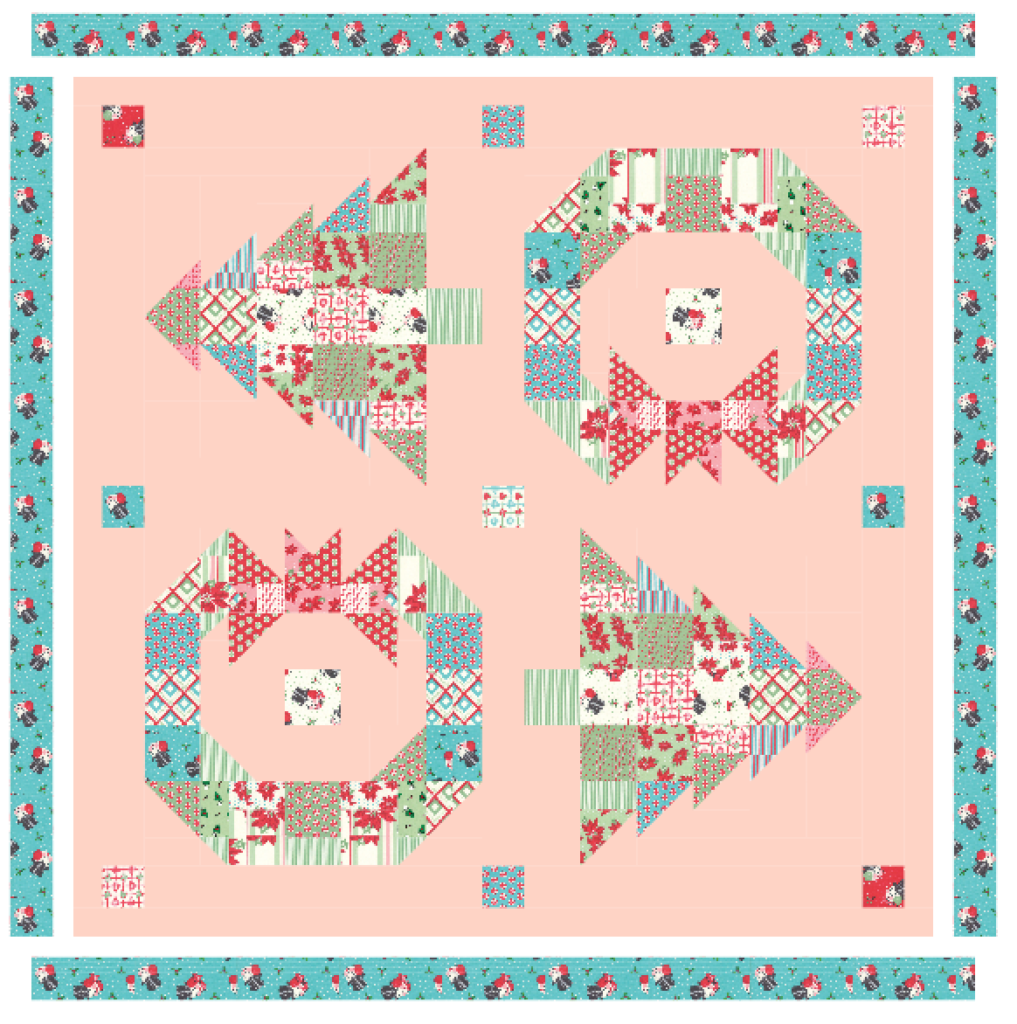
Second Border:
Cut (8) 3 1/2 inch WOF strips pf the Snowman print 31152-15 . Sew together to form (2) 61 1/2 inch strips and (2) 67 1/2 inch strips.
Sew the 61 1/2 inch strips along each side of the quilt and the 67 1/2 inch strips along the top and bottom of the quilt.
Third Border:
Cut (8) 3 ½ inch WOF strips of the little bows print 31157-21. Sew together to form (2) 67 1/2 inch strips and (2) 73 1/2 inch strips.
Sew the 67 ½ inch strips along each side of the quilt and the 73 1/2 inch strips along the top and bottom of the quilt.
Quilt and bind as desired. Wash, dry and then snuggle with it. In our house a quilt is not officially a quilt until it’s been slept with!
This quilt finishes at 73 inches square.
The great thing about these blocks is they can be made individual to make very festive mini quilts to hand around the house for the Christmas Holiday or make the Wreath block in any seasonal print for any other Holiday.
Bonus – Here’s a family favorite cookie recipe that my Aunt Rickie taught me to make when I was a little girl. These are actually great for the warmer months or for a quick after school treat because you don’t have to turn on the oven.
Aunt Rickie’s No Bake Cookies
Mix in a 2 quart saucepan - Melt:
1/4 lb. butter (1 stick)
1/2 cup milk
Add:
2 cups sugar
½ cup peanut butter (or I use Cookie Butter due to a child with peanut allergies)
5 level Tbsp. cocoa powder
Boil 2 minutes, stirring constantly.
Remove from heat. Stir in:
2 1/2 cups quick-cooking oatmeal
2 tsp. vanilla
Stir until oatmeal is mixed well. Drop by teaspoonful’s onto
waxed paper.
Cool and eat!
Makes about 2 1/2 dozen.
Until next time... Happy Sewing!
Lisa Jo Girodat
{blog: neverlandstitches.blogspot.com}
{instagram: neverlandstitches}
{facebook: https://www.facebook.com/groups/neverlandstitch/}
{Shop: Neverlandstitches by Lisa Jo}








Comments