Warehouses Closed June 6-13 For Exclusive Event
Hand Embroidery for Quilters: Heather Briggs' Tips and Tricks
Hand Embroidery for Quilters: Heather Briggs' Tips and Tricks
Let’s face it—quilts already tug at our heartstrings, but add a touch of hand embroidery, and you’ve got a project with even more soul. Heather Briggs, the creative mind behind My Sew Quilty Life and a Moda Fabric designer, dropped some serious stitch wisdom during her demo at Quilt Market’s Pop-Up Studio.
In this article, we’ll unpack Heather’s tips and tricks (from the video tutorial above) for quilters looking to dive into hand embroidery—or as I like to call it, the cherry on top of your patchwork sundae!
Download the FREE Embroidery Template designed by Heather just for this tutorial!
Why Hand Embroidery?
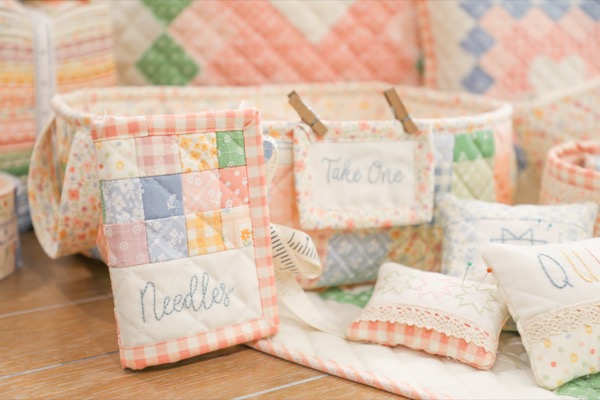
Photo courtesy of Heather Briggs (My Sew Quilty Life)
Quilters, let’s chat. Adding hand embroidery to your quilts isn’t just about decoration—it’s about storytelling. Think of it as giving your quilt its own unique voice. Whether it’s a whimsical motif, a heartfelt phrase, or a custom detail, embroidery stitches can elevate your quilt into something truly unforgettable and uniquely you.
As Heather says, it doesn’t have to be complicated to be impactful. So grab a needle, thread, and your favorite project—let’s get stitching!
Tools of the Trade
Before diving in, let’s make sure your embroidery toolbox is stocked:
- Needles: Heather recommends using embroidery needles with a sharp point and an eye large enough for your thread. Size 7 or 8 is her go-to. We have some amazing options available such as Tulip, John James and the cute Pebble embroidery pack Heather is using in this demo….to name just a few!
- Thread: Floss is your best friend! Opt for six-strand embroidery floss and play around with how many strands you use to get the look you love. We just love Aurifil and Cosmo Floss here in the office!
- Hoop: A hoop isn’t always necessary for quilting layers, but for embroidery onto single or double layers of fabric, it keeps your fabric taut and your stitches consistent. We have a plethora of hoops ready for your next embroidery project or in-store class. How cute are these floral design hoops by DMC?
- Marking Tools: Heather swears by water-soluble pens or friction pens for sketching your designs onto fabric. (Pro Tip: Test on scraps first!) We are going to highly recommend the Sewline water erasable roller pen for this endeavor. We tested many different water soluble markers and pens. The Sewline pen had the smallest amount of bleed and washed away very easily without much fuss.
[Flat lay of embroidery supplies with a partially stitched quilt block.]
Heather’s Favorite Stitches for Quilters
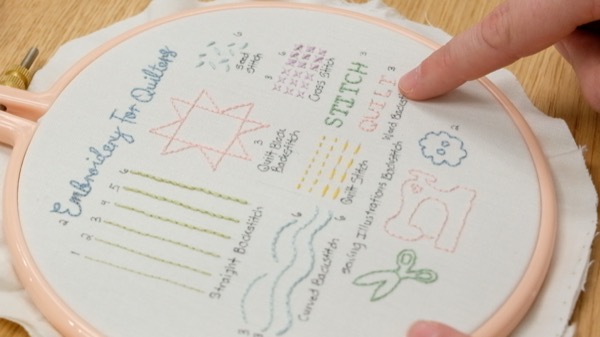
Heather kept it simple but oh-so-effective with these stitches that even beginners can master:
- Backstitch: Perfect for outlines and lettering. Just one stitch back for every two steps forward! Watch the video above to see Heather’s technique!
- French Knot: Heather calls these “little sprinkles of texture.” Wrap your thread around the needle once or twice and pull through for the perfect knot. Afeei has madei a fabulous tutorial for a french knot!
These stitches can be used to highlight quilt designs, enhance applique, or create standalone embellishments.
Tips for Stitching Success
- Start Small: Don’t overwhelm yourself. Begin with simple designs like hearts, stars, or initials.
- Layer Love: For quilters, embroidery shines on applique or adds charm to borders. You can even use stitches to mimic quilting designs!
- Thread Play: Mixing thread colors and strand counts can add depth and dimension to your work. Go scrappy with thread too!
- Relax & Enjoy: Heather reminds us that embroidery is supposed to be fun—don’t stress over perfection. Every stitch tells a story, even the “oops” ones.
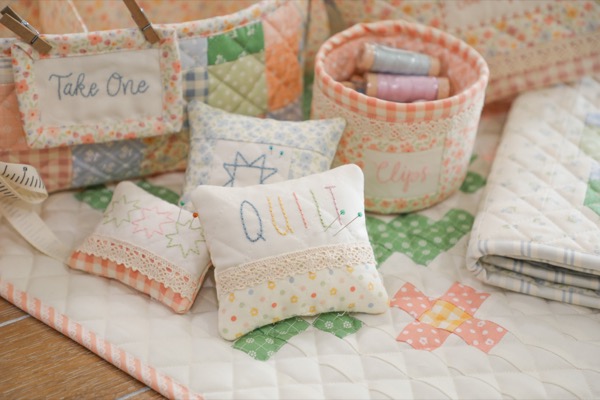
Photo courtesy of Heather Briggs (My Sew Quilty Life)
Embroidering Quilted Layers
One common question we get is, “Can I embroider after quilting?” Absolutely! In fact, hand embroidery can bring extra personality to already quilted designs. Just be mindful of tension—tight stitches can distort the quilt layers.
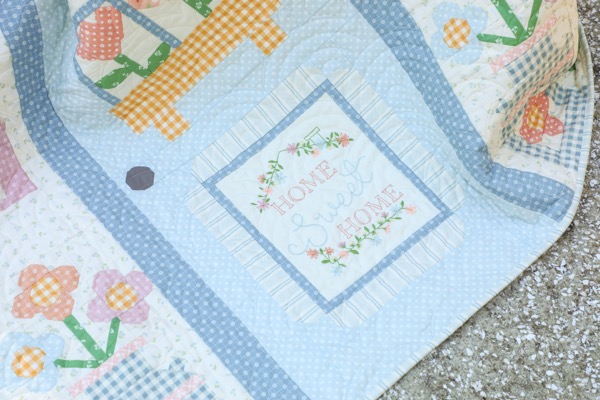
Photo courtesy of Heather Briggs (My Sew Quilty Life)
Pro Tip: If your stitches pull too much, try adding a lightweight stabilizer behind your quilt layer.
Follow Heather Briggs
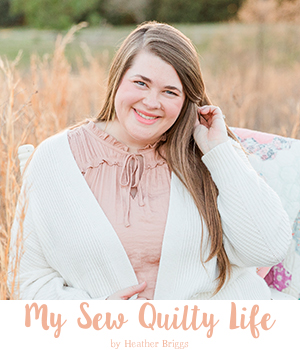
Can’t get enough of Heather’s tips and tricks? Follow her on Instagram at @MySewQuiltyLife for more quilting inspiration and behind-the-scenes looks at her creative process. You can also visit her on the web at MySewQuiltyLife.com.
My Sew Quilty Life hosts fabulous BOM with Heather’s signature designs which are perfect for her gorgeous and delicate fabrics!

Photo courtesy of Heather Briggs (My Sew Quilty Life)
Show Us Your Stitches!
Heather’s demo left us inspired, and now it’s your turn. Are you stitching words, shapes, or freewheeling with your designs? Tag @modafabrics in your embroidery-adorned projects—we’d love to see your masterpieces!
Photo Idea: A full quilt with subtle embroidery details showcased.
Grab a needle, some thread, and your quilty enthusiasm—it’s time to stitch your story into every quilt…or at least a few of them. After all, when it comes to quilting and embroidery, it’s the little details that make all the difference!
Stay tuned for more exciting tutorials, tips, and inspiration! Follow us on Instagram, Facebook and Youtube to join our vibrant quilting community.
- Subscribe to Moda's Youtube!
- Follow Moda on Instagram
- Follow Moda on Facebook
